Wednesday 7 May 2014

Tilt shift

Tilt shift photography

What is it?
  Tilt–shift photography is the use of camera movements on small- and medium-format cameras, and sometimes specifically refers to the use of tilt for selective focus, often for simulating a miniature scene.
Miniature faking vs. Tilt Shift?
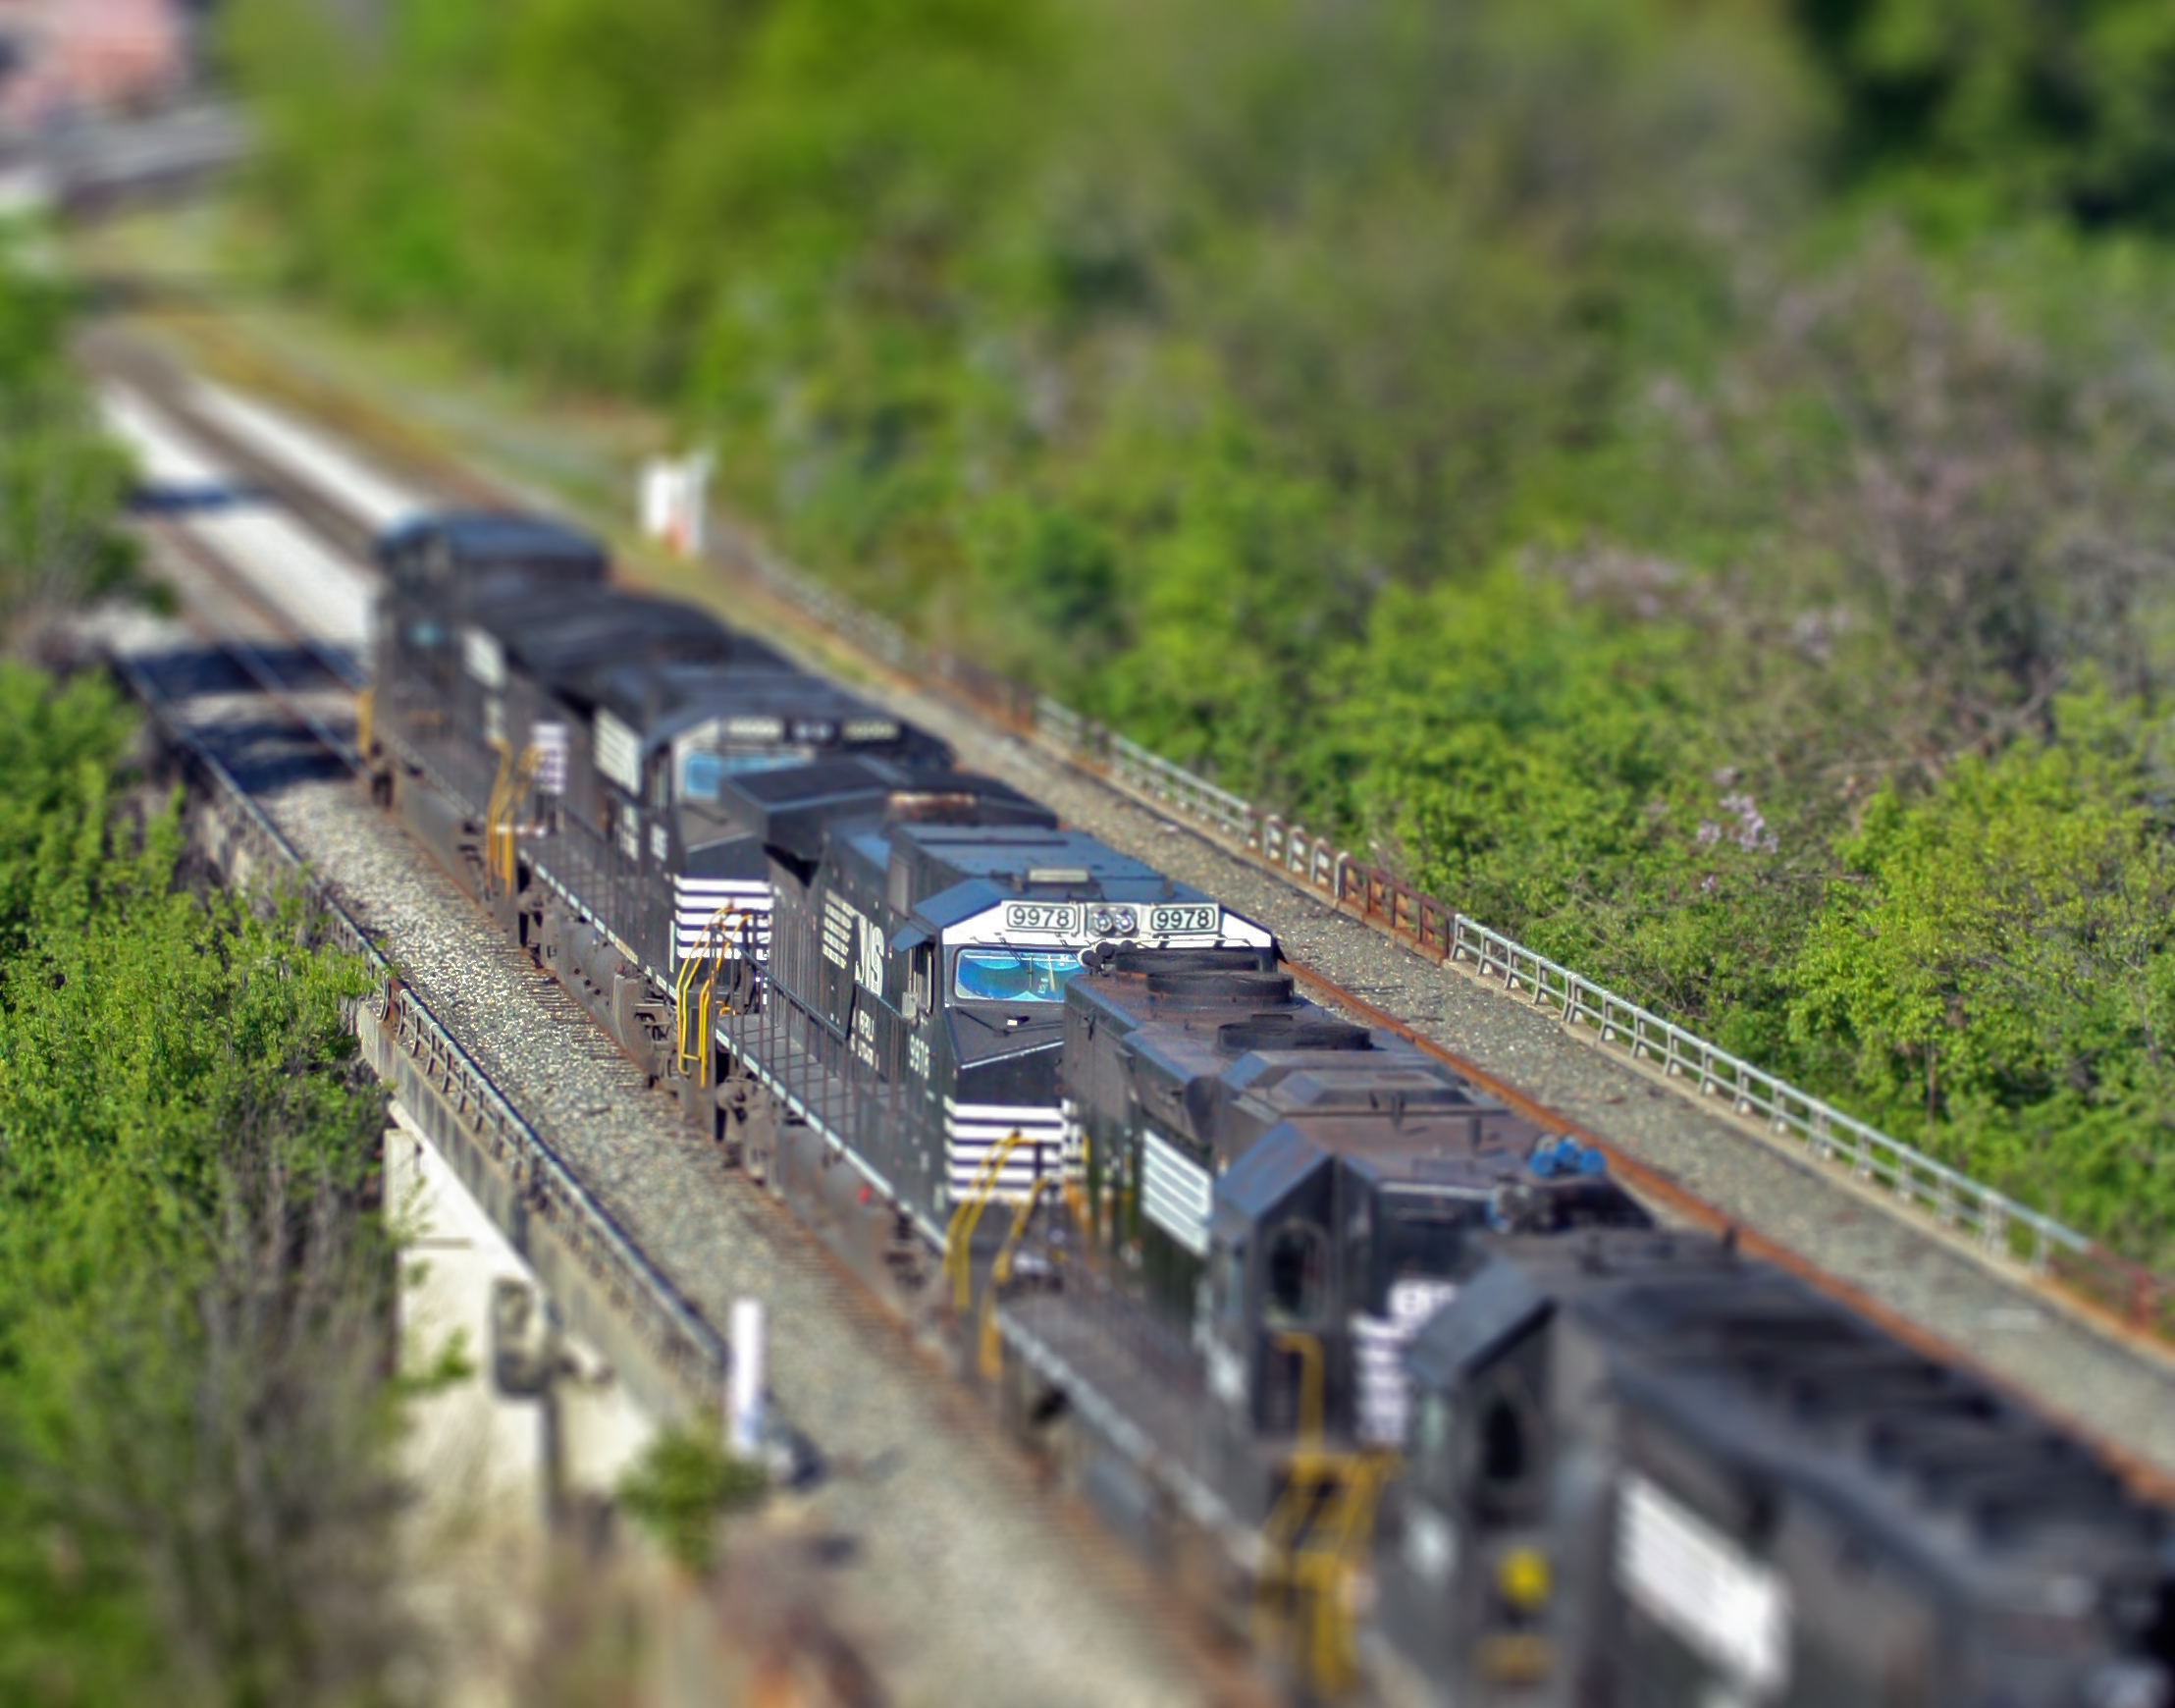
  Miniature faking, also known as diorama effect or diorama illusion, is a process in which a photograph of a life-size location or object is made to look like a photograph of a miniature scale model. Blurring parts of the photo simulates the shallow depth of field normally encountered in close-up photography, making the scene seem much smaller than it actually is; the blurring can be done either optically when the photograph is taken, or by digital postprocessing. Many diorama effect photographs are taken from a high angle to simulate the effect of looking down on a miniature. Tilt–shift photography would be different in the way in which the process is created and made to look smaller, yet miniature faking adds an effect of a blur on to the image creating a 'miniatue fake'.

Equipment needed?
  • 24 mm lens that tilts
  • 35 mm lens that shifts
  • Camera

The process?
  Tilt–shift encompasses two different types of movements, rotation of the lens plane relative to the image plane, called tilt, and movement of the lens parallel to the image plane, called shift. Tilt is used to control the orientation of the plane of focus and hence the part of an image that appears sharp. Shift is used to adjust the position of the subject in the image area without moving the camera back; this is often helpful in avoiding the convergence of parallel lines, as when photographing tall buildings.
  By doing this, is creating a simulating miniature scene.
Ideas?


My images

Scanography

Scanography

 Scanography, more commonly known as scanner photography. This is the method of using a flatbed photo scanner in order to capture digital images, and creating printable art. With the depth of field on a scanner being very poor, yet the advantage can be seen within the sharpness and colour saturation. 
  This photography is a very simple technique, as all that is needed is a scanner which has a usb lead in order to plug the scanner into a computer/laptop in order to view the image once scanned. I simply set this up with a flatbed photo scanner, plugged into my macbook allowing me to view my scanned images straight away. 

Ideas for my scanography images


  For my scanography images, I like the idea of a vintage style photograph of a girl with her hair across the scanner and only showing part of her face (like the two images that can be seen in the middle above). These images look good with flowers placed lightly around them, or around their hair. I think I will apply this vintage style imagery to my photos, as it is different to anything I have done in this unit and will therefore explore my skills and development within the unit.
  I also really like the idea of the skull around to flowers and greenery, I feel this gives a sense of life and death. As the skull portrays death and the greenery portrays the life in the image, this contrast adds great power and strength to the image making it stand out dramatically.

My scanography
I kept to my ideas, and here are some of the scanography images I made in class. 


High Speed Photography

High Speed Photography

What is it? 
High Speed Photography is the science of taking images of very fast moving subject material. This type of photography captures things which are normally invisible to the human eye. On one hand, high speed photography can be used to capture an apple falling into water capturing the splash of the water. However, there is also the high speed photography of which is almost created into a video to show the fast movement of a frame of images. 

History
In 1872, the former governor of California Leland Stanford, a businessman and race-horse owner, hired Eadweard Muybridge for some photographic studies, of the movement of a race horse. After completing this study, Stanford then wanted a study of the horse at a gallop. Muybridge planned to take a series of photos on 15 June 1878 at Stanford's Palo Alto Stock Farm. He placed numerous large glass-plate cameras in a line along the edge of the track. The path was lined with cloth sheets to reflect as much light as possible. He copied the images in the form of silhouettes onto a disc to be viewed in a machine he had invented, which he called a zoopraxiscope. This device was later regarded as an early movie projector, and the process as an intermediate stage toward motion pictures or cinematography. Here is the photography done by Muybridge with his zoopraxiscope in 1878. 


How is it done?
The main requirements in order to create high speed photography are:
  • A sensitive sensor
  • Good shuttering system
  • Fast strobe light
You can't just point a lens at an object and hope your picture will turn out. There are two very important factors that determine how film is exposed to light:
  • How much light enters through the lens
  • The amount of time the film is exposed to light

    The device that works with the aperture and determines the second factor, how long the film is exposed to light, is called the shutter. The shutter is basically a curtain that opens and closes to expose the film to light. More specifically, it's the shutter speed -- the rate at which the shutter opens and closes -- that really affects the film's exposure.
    The first factor, the amount of light coming onto the film, is controlled by the camera's aperture, which is a circular opening that can expand or shrink in size. The aperture works when you need to let in more light, the circle becomes bigger; when you need to block out some light, the circle becomes smaller. Once this is the case the image can be shot showing the movement, and creating high speed photography. 

My high speed photography images
Me and my classmates set up the photography studio in our college in order to capture some high speed photographs. We used a big bowl of water, while dropping fruit in to the water in order to create movement. We then captured this movement with a Canon 600D, here are some of my images.